Shakar-para

shakerpareShakar-para

Home made Shakar-paras  a treat, Yummy!

Hi  friends ! Here is an easy  recipe to make delicious Shakar-paras today. Taste is medium sweet, crispy yet melt in your mouth! Traditionally served as a snack to guests during janmashtami Diwali but excellent snack to be had throughout the year . Shakar-paras are prepared in two ways.  In one recipe sugar or jaggery is kneaded in the dough of  shakar-paras and in the second recipe shakar-paras are sugar or jaggery coated later. In my this recipe I have made Shakar-paras with sugar kneaded in the dough. As you will see it is very easy to make sweet.

Preparation time : 30 minutes

Time for frying: 20 minutes

Cuisine: Indian, Maharashtra, Gujarat, Karnataka

Course: snacks

Serves : 6

Ingredients :

  • 2 1/2 cups All purpose Flour /Maida
  • 1/4 cup rice flour
  • 1/4 cup Chick pea flour / Besan
  • 1/2 cup Ghee
  • 3 tbsp fresh Cream / Malai from boiled and cooled milk
  • 1 cup Sugar
  • 1/2 cup Milk
  • 1 1/2 tbsp sesame seeds / Til
  • Oil – for frying

Method:

Step 1.

Sift flours, powder the sugar finely in a grinder, keep aside.

Step 2.

In a mixing bowl take all purpose Flour /Maida , Grind sugar finely, rice flour, Chick pea flour / bengal gram flour /besan, mix well and add ghee, fresh Cream / Malai from boiled and cooled milk and powdered sugar ,cream mix and rub in very well.

Step 3.

Add sesame seeds / Til Knead a soft firm dough by adding milk very slowly as required . Cover and keep aside the dough for 30 minutes.

Step 4.

Divide the dough into four equal portions. Roll out each portion into a 1/4 ” thick flat round circle.

Step 5.

Cut the rolled dough circles into diamond shaped Shakarparas with a knife . keep in a greased tray for frying.

Step 6.

Heat oil in kadahi /wok or a deep heavy bottom pan, put cut diamond shaped Shakar-paras in hot oil. After putting the shaker-paras in hot oil reduce the heat to medium low flame. Fry till they turn light golden brown, turning regularly.

Step 7.

Remove the fried Shakar-paras on a tray lined with paper kitchen towel to drain excessive oil.

Step 8.

When all the Shakar-paras are fried, cool and store them in an air tight container.

Note:

Very hot oil while frying will cook the shakar-para from outside but will not be cooked properly inside.

It is rich in carbohydrates, making it an instant source of energy.

Shelf life: It has a long shelf-life. Once it cools completely, store in airtight container , will stay good for weeks.

Nick’s kitchen medical Disclaimer:

  • Nick’s kitchen is for Vegetarians. It sometimes provides education and support to individuals who want to become vegetarian, or move toward a more vegetarian diet.
  • Nick’s kitchen provides some information on vegetarian and vegan diets to the best of their knowledge and abilities.
  • Nick’s kitchen does not claim to be health care professional, nutritionist, nor does it claims to treat any illness through vegan or vegetarian diet.
  • If you have a medical condition,Nick’s kitchen recommend that you consult your health care professionals before changing your diet.
  • Any changes that you make to your diet, and the results of those changes, are your decision and your responsibility.

Butter murukkus

Butter murukkus     Murukku press        Butter murukkus                                                                             Murukku Press

Hi friends! We are a big fans of butter murukkus. The murukkus available in stores are very different from the home made ones. The texture and taste of the murukkus changes with the proportion of ingredients used in making the murukkus. While making this snack, the ratio of rice flour and the other flour will give different look and taste to the snack.

Recipe Cuisine: Indian, South Indian

Recipe Category: Snacks

Prep Time: 10 minutes

Cook time: 15 minutes

Serves: 4

Ingredients:

  • 1 cup Rice flour
  • 2 tbsp Bengal gram flour/ Besan
  • 2 tbsp roasted gram dal flour/ Chutney dal flour
  • 2 tbsp Butter, melted
  • 1/2 tsp Black pepper, freshly ground
  • 1 tsp Cumin seed/ Jeera
  • 1 tbsp sesame seeds / Til
  • 1/2 tsp Asafetida / heeng
  • 1 tsp salt / or as per taste
  • Oil For deep frying

Method:

Step 1.

Powder roasted gram dal flour/ Chutney dal flour in a grinder. Keep aside.

Step 2.

In a mixing bowl take rice flour, roasted gram dal flour/ Chutney dal flour, Bengal gram flour/ Besan, salt, pepper, asafetida , sesame seeds, cumin seed and butter. Rub in the melted butter well with your finger tips.

Step 3.           

Slowly add water to make a smooth soft dough easy enough to press.

Reason is we want the butter murukku in strips, not long, broken strips, bite sized. So if its but dry, it breaks by itself as we squeeze. But its not a must, you can either squeeze little and use ur hands to break or squeeze long strips and break later, or even make murukku shape. 3-rub

Step 4.

Heat oil in a wok / kadahi/ pan on the medium flame. Fill in the prepared soft dough in the murukku press with the three star plate at the base in the press. Squeeze the dough pressing the handle, and give it a little shake for the dough to break and fall into the oil. Fry these two to three inches long murukku pieces in to the hot oil. Cook on medium flame stirring in between and flipping the murukkus until cooked from all sides.

Step 5.

Drain the fried murukkus in a paper kitchen towel lined tray. Cool completely before storing in an airtight container.

Notes:

If you hold the press at an angle while squeezing the dough above the hot oil the murukku pieces break easily into the oil.

You can either press the dough down directly in the hot oil or make random lengths on a tray and gradually fry in batches.

Do not over crowd the wok / kadahi/ pan while frying the murukkus as murukkus absorb more oil.

Nick’s kitchen medical Disclaimer:

  • Nick’s kitchen is for Vegetarians. It sometimes provides education and support to individuals who want to become vegetarian, or move toward a more vegetarian diet.
  • Nick’s kitchen provides some information on vegetarian and vegan diets to the best of their knowledge and abilities.
  • Nick’s kitchen does not claim to be health care professional, nutritionist, nor does it claims to treat any illness through vegan or vegetarian diet.
  • If you have a medical condition,Nick’s kitchen recommend that you consult your health care professionals before changing your diet.
  • Any changes that you make to your diet, and the results of those changes, are your decision and your responsibility.

Khandvi

Khandvi

Easy Khandvi recipe

Khandvi is a savory snack in Gujarati cuisine. It consists of yellowish, tightly rolled bite-sized pieces, and is primarily made of gram flour and yoghurt.Khandvi is readily available across India, and is commonly eaten as an appetizer or snack. Many people choose to buy it from local shops rather than preparing it at home, though it is easy to make.In other parts of India, this dish is also known as Suralichi vadi or Patuli.

Hi friends! Gujarati khandvi, a delicious appetizer/ teatime snack is relished by all. It can be prepared easily .

Preparation Time: 5 minutes

Cooking Time: 30 minutes

Cuisine: Indian, Gujrati

Course: Snack/ Appetizer

Serves: 2

Level : Easy

 Ingredients :

  • 1/2 cup Gram flour /Besan
  • 1/2 cup Curd
  • 2 tbsp Green coriander ,finely chopped
  • 1 tbsp Oil
  • 1 Green chili ,minced
  • 6 Curry leaves
  • 1/4 tsp Turmeric powder
  • 1/4 tsp Asafetida
  • 1/2 tsp Ginger paste
  • 1/2 level tsp salt /or as per taste

For tempering:

    • 1tabsp oil
    • 1/2 tsp mustard seeds
    • 4-5 kadhi patta /curry leaves
    • 1 tbsp green coriander, finely chopped
    • 1/4 cup grated coconut

Method:

Step 1.

In a mixer jar take gram flour/ besan, curd, water, salt, turmeric, chili paste,  and make a smooth batter , without any lumps (batter can also be prepared in a bowl, by whisking it manually).

Step 2. 

Take the mixture in a non stick pan over high heat, and bring to a boil, stirring all the time ,to avoid scorching.

Step 3.

Keep cooking and stirring the mixture. It starts thickening, looking like a thick paste like consistency. Keep stirring continuously .

Step 4.

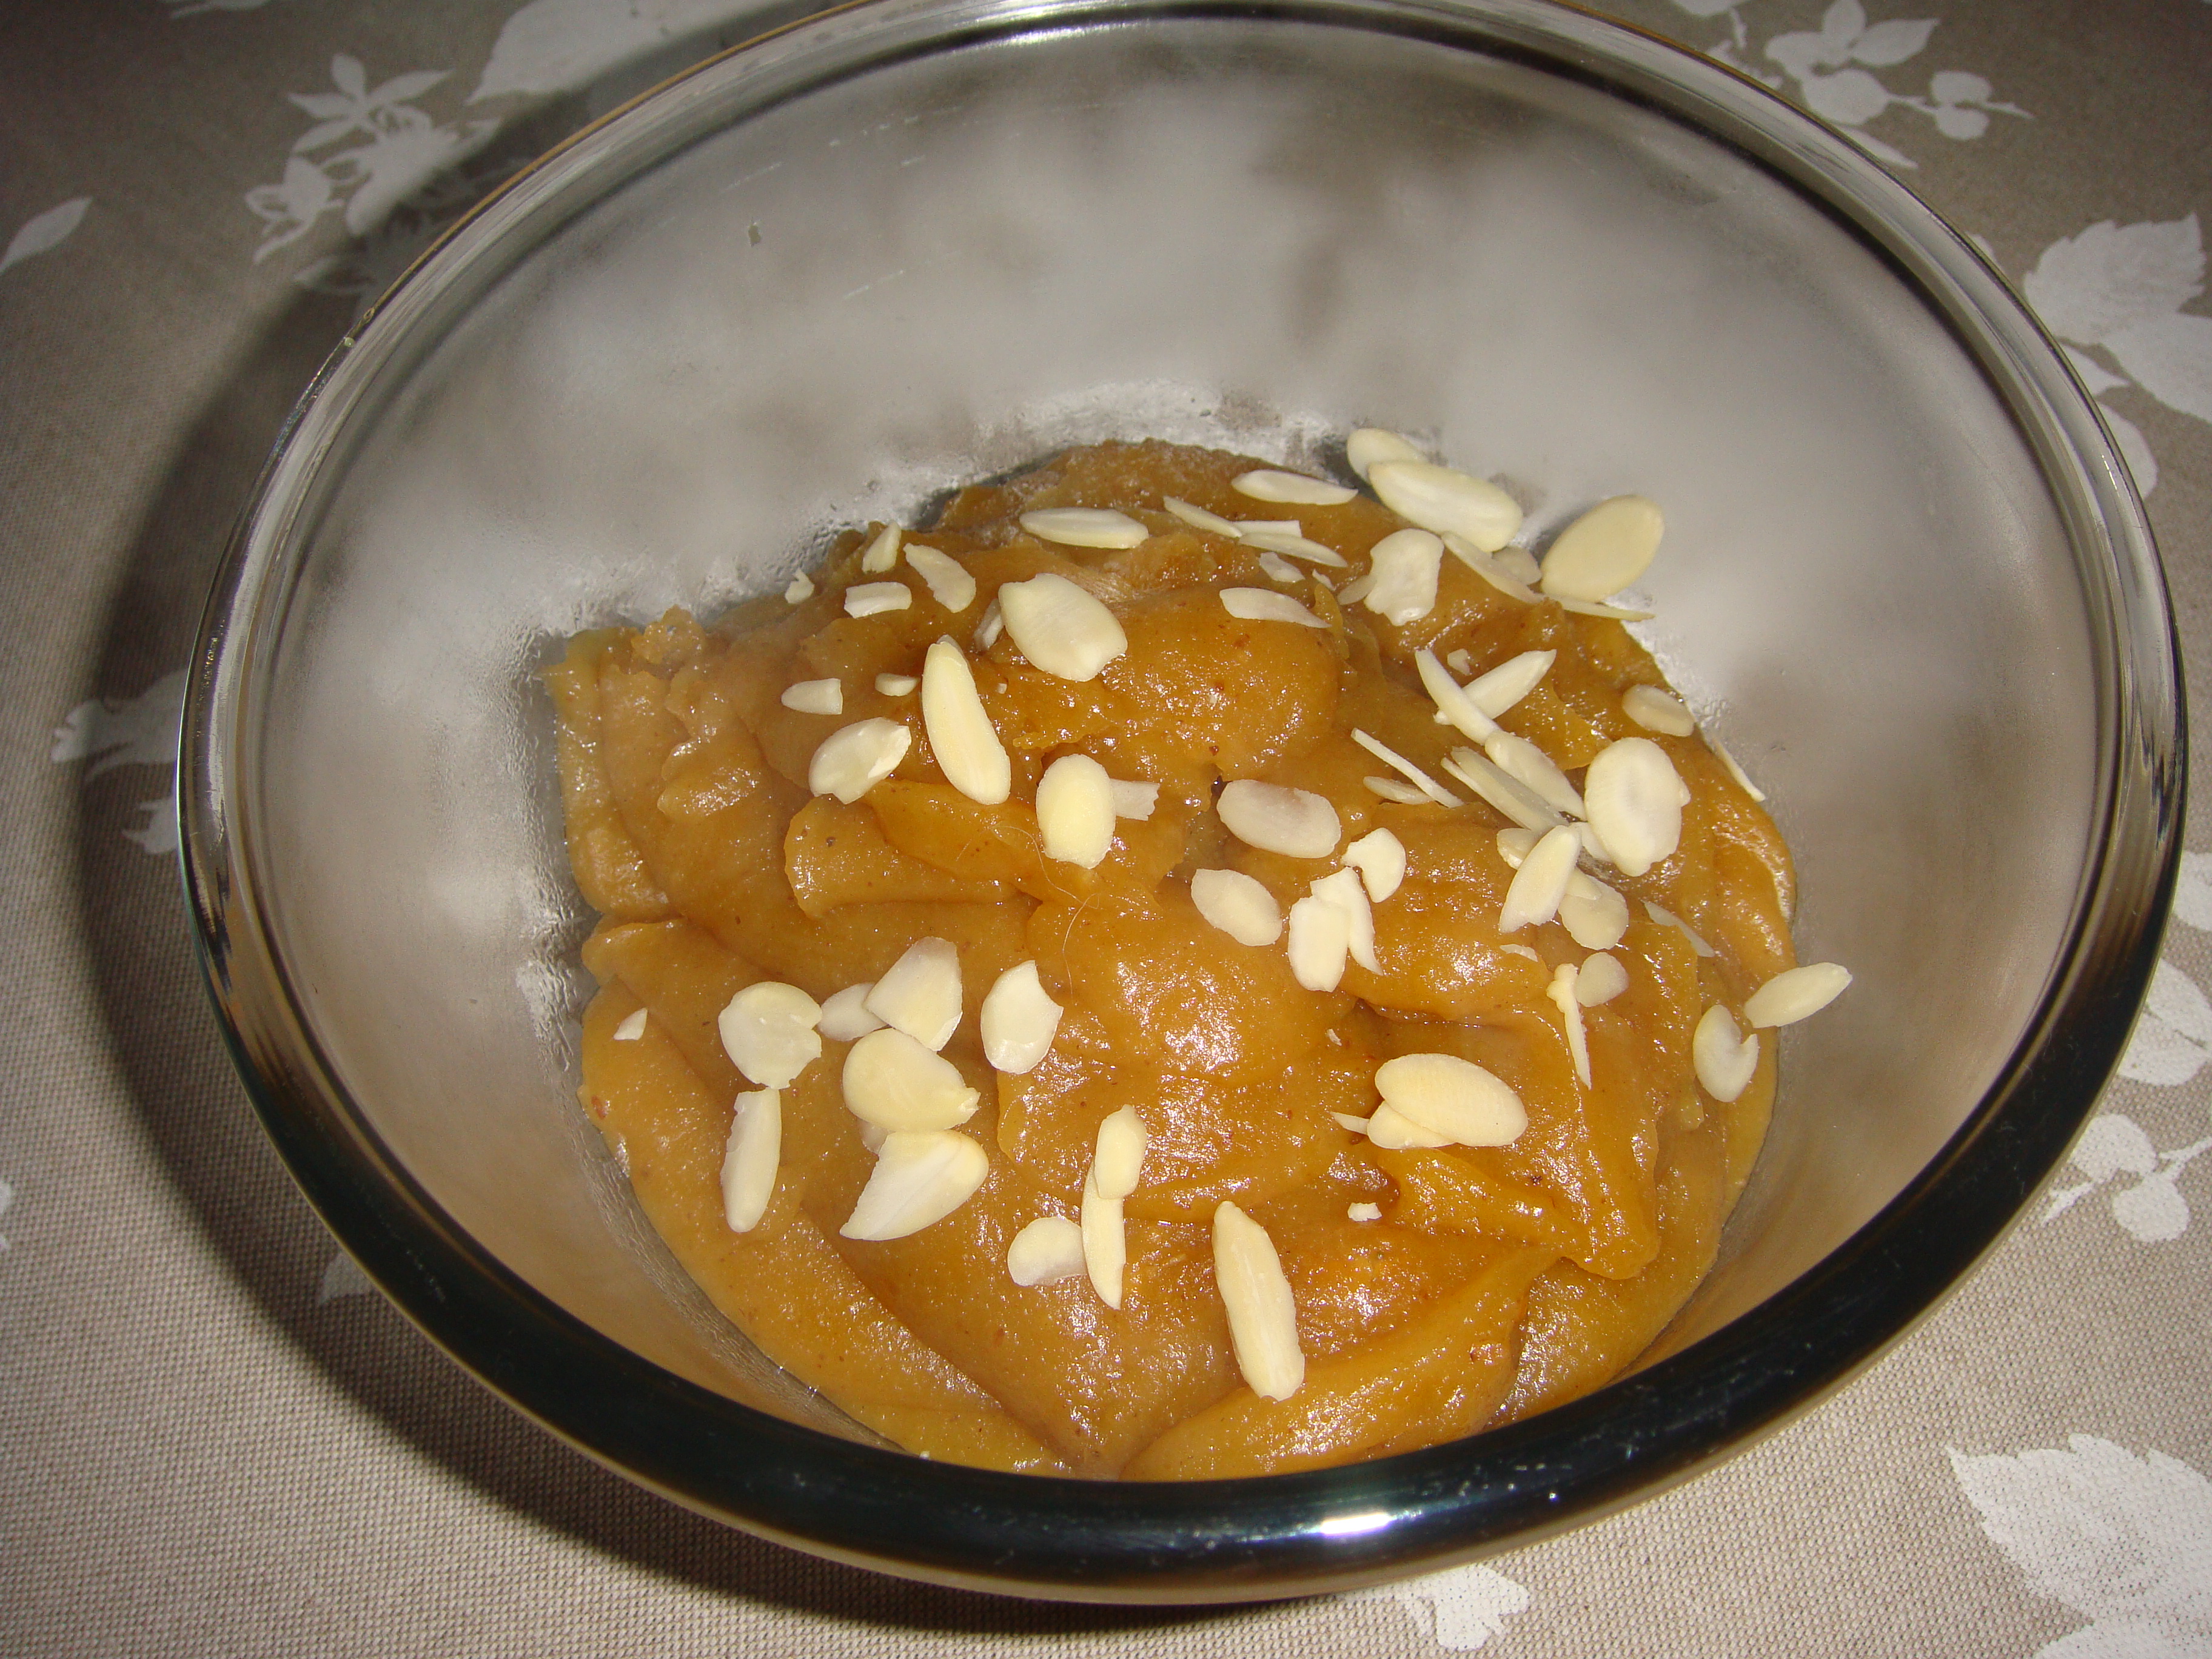
Mixture is ready, when a tsp of from it is spread on to an ungreased surface, and when cool, it should come off clean. mixture for making khandvi is now ready.

Step 5.

For spreading the cooked mixture, take a tray without greasing it with oil. With help of a spatula, spread the khandvi mixture over the tray very thinly. Within 15 to 20 minutes, batter cools and sets.

Step 6.

Now with a knife, cut the cooled khandvi spread into 6 inch long and 2 inch wide strips.Roll each strip like a scroll, as firmly as you can, without breaking them, make all the rolls and arrange  on a plate.

Step 7.

For tempering :

Now heat oil in a small pan. Chop the green chili lengthwise. When oil is sufficiently hot add mustard seeds into. when mustard seeds start crackling, add curry leaves . Spread this Seasoning /tadka over the khandvi .

Step 8.

Arrange them on to a serving dish. Garnish with the coriander, coconut and serve.

Step 9.

Tasty khandvi is now ready. Serve khandvi with coriander chutney/or ketchup or any chutney as per your taste.

Note:

  1. For making Khandvi mixture should be smooth, lump free.
  2. Sour curd / dahi / yogurt gives better results.
  3. The batter is cooked down to a thick paste and then spread thinly on a flat surface.
  4. It can be served hot or cold
  5. Besan flour is made from chickpeas.

Nutrient Facts for chickpeas / Gram flour /Besan Flour:

Besan flour, or gram flour, may not sound familiar until you hear its third name: chickpea flour. The characteristic nutty flavor from finely ground chickpeas gives besan flour the ability to create tasty, simple breads that stand on their own with few ingredients. It also stands above wheat flour in protein and folate content.

Basics

Besan flour is naturally higher in protein than wheat-based flours. One-half cup contains 10 grams of protein, compared to 8 grams in whole-grain wheat flour and just 6 grams in white flour. One-half cup of besan flour has 178 calories and 3 grams of total fat. Even though that’s double the fat of whole-wheat flour, 70 percent of the fat in besan flour comes from healthy unsaturated fats that can lower cholesterol. The same portion has 5 grams of fiber.

Vitamins

One-half cup of besan flour has 201 micrograms of folate, compared to 26 micrograms in whole-wheat flour and 182 micrograms in enriched white flour. If you consumed an entire half-cup of besan flour, you’d get 50 percent of the recommended daily intake of folate. This important vitamin is critical for the production of proteins and genetic material. In this role, folate is especially important during periods of rapid growth. When taken before and during pregnancy, it helps prevent birth defects of the brain and spinal cord. The same portion of besan flour is a good source of thiamin and vitamin B-6. Thiamin converts food into energy, while vitamin B-6 is needed for the synthesis of red blood cells and the neurotransmitter serotonin that regulates appetite and mood.

Minerals

Besan flour delivers a boost of iron, magnesium and phosphorus. Well known for its role carrying oxygen, iron also functions as an antioxidant and it’s needed for the production of collagen. Magnesium causes muscles to relax, which helps maintain vascular health and regulates blood pressure. Phosphorus combines with calcium to form the primary compound used to build bones. It also carries lipids through the body and activates enzymes that produce energy. One-half cup of besan flour has 2 milligrams of iron, 76 milligrams of magnesium and 146 milligrams of phosphorus.

Preparation Tips

Besan flour is usually mixed with water, olive oil, yogurt or milk to make a paste that can be any consistency depending on the desired use. The paste is seasoned with any combination of parsley, cumin, coriander, turmeric, red chili, rosemary, onion or garlic. It’s traditionally cooked in a skillet to create a flatbread called socca or fried into fritters. Use a thick besan flour batter to coat and fry vegetables or add small shrimps to a thin batter and fry them into appetizer-like pancakes.

Gluten Free

Besan flour doesn’t contain gluten, so it makes a good substitute for wheat flour in gluten-free diets. Depending on the food you’re making, the bean taste may not create the best result. Try mixing besan flour with white rice flour, making sure that the total amount is the same that’s called for in the recipe. You’ll probably need to adjust the fluids to create the same consistency achieved with wheat flour. If you’re making yeast dough, you’ll need to add about 1 teaspoon of guar or xanthan gum for every 1 cup of flour so that the yeast can rise.

Ref. http://healthyeating.sfgate.com/nutrient-besan-flour-3167.html

Nick’s kitchen medical Disclaimer:

  • Nick’s kitchen is for Vegetarians. It sometimes provides education and support to individuals who want to become vegetarian, or move toward a more vegetarian diet.
  • Nick’s kitchen provides some information on vegetarian and vegan diets to the best of their knowledge and abilities.
  • Nick’s kitchen does not claim to be health care professional, nutritionist, nor does it claims to treat any illness through vegan or vegetarian diet.
  • If you have a medical condition,Nick’s kitchen recommend that you consult your health care professionals before changing your diet.
  • Any changes that you make to your diet, and the results of those changes, are your decision and your responsibility.


Besan Ka Halwa

Besan Halwa 1

Besan / Chick pea flour Ka Halwa

Hi friends! Some of our favorite comfort foods for cold weather! Gluten Free: Besan/ Chick pea flour doesn’t contain gluten, so it makes a good substitute for wheat flour in gluten-free diets.

Key Ingredients: Besan, Sugar, Chickpea flour, slivered Almonds, Clarified Butter/ Pure Ghee

Recipe cook time: 20 minutes

Course: Indian dessert

Serves : 6

Ingredients:

  • 1 cup Besan /Chick pea flour
  • 2/3 cup sugar
  • 2 1/2 cups water
  • 4 tbsp pure ghee
  • 2 tbsp slivered almonds for garnishing

Method:

Step 1.

In a pan put the sugar and water and bring it to boil. Keep on simmer, till required.

Step 2.

In a wok/ Kadahi, melt the ghee add the Besan /Chick pea flour and stir fry over medium heat, stir it continually for about 8-10 minutes. When the Besan /Chick pea flour is a light golden in colour and does not stick together much , it is well fried .

Step 3.

Pour the hot sugar solution into the fried Besan /Chick pea flour gently and carefully, stirring continually bring to a boil. Once the water is added, mix the Besan /Chick pea flour mixture well so that no lumps are formed. Gradually Besan /Chick pea flour absorbs the water added and starts thickening.

Step 4.

Thoroughly mix let whole mixture cook for 5-6 minutes more. keep on stirring so that the Besan /Chick pea flour halwa does not stick to the wok / Kadahi and starts leaving the sides. Besan /Chick pea flour halwa is ready now. Serve hot, garnished with the slivered almonds.

Health Benefits of Besan / Chick pea flour:

Lowers diabetes- Besan is known to have very low levels of glycemic in it, which is great for those who have high diabetes. One can use the flour to make parathas and rotis, or replace the wheat flour to make desired dishes too.

Happy heart- Besan assures you with a happy heart, since it has high soluble fibre in it, which helps the heart stay strong and healthy for a very long time to come. Even the most reputed heart surgeons and specialists recommend the use of besan over any other flour for the heart, say experts

Lose weight now- Since besan has low glycemic index, the calorie count would be low too, which is why fitness freaks and experts swear by the consumption of besan, smoothie of besan is known as SATTU in India.

Fights allergies- Besan doesn’t have gluten in it, which is grain and especially wonderful for those who have allergies to gluten induced foods. Besan flour is highly nutritious and helps the body with immense benefits, especially when fighting allergies of any kinds.

Gluten free- Those who suffer from celiac ailments cannot have gluten, which is a protein. Gluten is found in barley and wheat extensively, but not in besan. Besan helps the immune system stay strong in the process, and the patient would be able to absorb all the nutrients as well as stay well nourished too.

No more anaemia to worry of- The flour of besan helps with fatigue, weight loss and even iron deficiency in the body, and we all know  when someone has low iron content in the body, they suffer from anaemia.

Besan is also good for those who suffer from dermatitis herpetiformis, autoimmune disorders, sclerosis, autism, ADHD and more.

One can use besan for the skin with a pinch of turmeric powder and milk. The paste can be applied on the visible parts of the face and neck and left for ten minutes to dry. This is a pack which would help exfoliate the skin and brings back the moisturising effects too. Besan flour helps tighten the skin, gives it a glow and brings back elasticity too

As a body scrub, the flour of besan has been used time again since our grandmothers young hood days. To remove spots, back acne, body marks and oiliness of the body, try using the flour as a pack with milk and turmeric twice a week. This is a pack which would remove the tan and keep the skin healthy and fresh.

Ref . http://stylesatlife.com/articles/besan-benefits/

 Nick’s kitchen medical Disclaimer:

  • Nick’s kitchen is for Vegetarians. It sometimes provides education and support to individuals who want to become vegetarian, or move toward a more vegetarian diet.
  • Nick’s kitchen provides some information on vegetarian and vegan diets to the best of their knowledge and abilities.
  • Nick’s kitchen does not claim to be health care professional, nutritionist, nor does it claims to treat any illness through vegan or vegetarian diet.
  • If you have a medical condition,Nick’s kitchen recommend that you consult your health care professionals before changing your diet.
  • Any changes that you make to your diet, and the results of those changes, are your decision and your responsibility.


Arbi/Colocasia Curry

DSC01938

Taro vegetable or Arbi/ Colocasia as we better know it, originates from Malaysia and India, where it grows wild in wet or dry places. The taro leaves are heart shaped with white roots that are nutty in flavour. It can cause skin irritation when peeling. Taro is also known as dasheen,  esculenta . It has many healing properties that are useful to get rid of many diseases.

Serving: 4-5

Ingredients :

  • 250 gms Arbi /Colocasia, boiled, peeled
  • 2 medium size onions
  • 1/2 tsp Chilli powder/or to taste
  • 15 cloves of garlic, crushed in to a paste
  • 1 tsp Ginger paste/ 1″ ginger piece grated
  • 1 1/2 tsp Dhania /coriander powder
  • 1/2 tsp jeera /cumin seeds
  • 1 cup curd /yogurt
  • 2 tbsp Besan / Gram flour
  • 3 cups water
  • Oil for deep frying
  • 2 tbsp finely chopped Coriander leaves for garnishing

Method:

Step 1.

Cut boiled and peeled arbi in to big pieces. Keep aside for deep frying.

Step 2.

Heat oil and deep fry arbi pieces till golden. Keep aside.

Step 3.

Finely chop onions and steam, cool and grind into a paste.

Step 4.

Take a deep heavy bottom pan, put 2 tablespoons oil and put the onion paste into it.

Step 5.

Sauté the onion paste for a few minutes, see that it’s color doesn’t change. Add ginger, garlic paste fry for few minutes. Add salt, turmeric, chili powder and coriander powder to the masala and fry for a few minutes more.

Step 6.

Take besan in a small bowl add three table spoons of water , mix well to make a paste add  it to beaten curd  mix well.

Step 7.

Add  this mixture and water  to the fried masala, bring it to a boil.

Step 8.

Simmer over low heat till thickened a bit ,about 10- 15 minutes, stirring fairly frequently. Add the fried arbi pieces, simmer for 5-8 minutes more .

Step 9.

Garnish with the coriander leaves  and serve hot.

Health benefits of Arbi/ Colocasia/Taro :

1. Reduces Fatigue:

Arbi/ Colocasia/Taro is mainly consumed by athletes for long lasting energy. This is because it contains a low glycemic index which is good for athletes.

2. Weight loss:

Arbi/ Colocasia/Taro can prove to be very beneficial for the ones who want to lose weight, since this has very a low caloric content. One cup of cooked taro can give you 187 calories.

3. Digestion:

This root contains a good amount of fiber that is useful for the digestive process. This gives you a feeling of being full for a longer time even after a small meal. Thus, eating taro roots can be useful to lose pounds and maintain your weight, since it has low calories and high fiber.

 4. Clear stomach:

Foods that contains high amount of fiber are also known to boost the digestive process. This helps to eliminate the wastes from the body and prevent re-occurrence.

[ Read: Iodine Benefits ]

5. Heart health:

One cup of taro has 0.1g fat and cholesterol, which helps to prevent hardening of the arteries. You can consume it several times without worrying about gaining weight or other health problems related to fatty foods like heart or kidney diseases. Taro roots can give 19% of the daily required Vitamin E that is required to prevent the risks of a heart attack.

6. Hypertension:

Hypertension or high blood pressure is mostly observed in the mid aged group of individuals which can be kept in control by consuming foods that are low in fat and sodium. One cup of taro gives only 20 mg of sodium that helps to maintain kidney problems and fluid retention.

7. Antioxidant:

Arbi/ Colocasia/Taro is one of the best sources of Vitamin C, since one cup of taro can give 11% of your daily requirement of Vitamin C. This acts as an antioxidant to remove toxins from your body and detoxifies it.

8. Immunity:

Vitamin C in taro is useful in regenerative functions and boosts the immunity of the body.

[ Read: Geranium Oil ]

9. Low Glycaemia Index Food:

Arbi/ Colocasia/Taro has a low glycaemia index. This helps to break down glucose in the liver slowly and aids in weight loss and lowers blood sugar. This is also useful for hypoglycaemia as this provides long lasting energy.

10. Aging process:

This is a very nutritious food that contains many Vitamins – A, C, B, minerals like copper, manganese, zinc, magnesium, calcium, iron, selenium, potassium, beta-carotene and cryptoxanthin. All these are good antioxidants that are useful to protect against diseases and slow down the aging process. This also contains protein and is gluten-free, cholesterol-free and low in sodium too.

11. Cancer:

Arbi/ Colocasia/Taro is very high in Vitamin A that has more than 160% of your daily requirement of Vitamin A. The leaves and roots of taro contain polyphenols which are great antioxidants to protect even from cancer.

12. Muscle health:

Arbi/ Colocasia/Taro contains Vitamin E and magnesium that can protect you from cancer and heart disease. This also helps to maintain your blood pressure and is helpful for fluid regulation. Taro roots contain magnesium which is vital for muscle, bone and nerve health.

[ Read: Iodine Benefits ]

13. Amino Acids and Omega-3 oils:

Taro root has more than 17 different amino acids that are essential to maintain good health. This also has Omega 3 and 6 oils which are required for maintaining cardiovascular health, cancer prevention, and other diseases.

14. Cooking:

Arbi/ Colocasia/Taro and leaves both have great flavours. They can be cooked and impart a nutty flavour, whereas the leaves taste like cabbage. Taro roots are used to prepare curries, fried for chips, cakes, roasted, boiled, steamed, pureed etc.

Ref.http://www.stylecraze.com/articles/benefits-of-taro-vegetable/

Nick’s kitchen medical Disclaimer:

  • Nick’s kitchen is for Vegetarians. It sometimes provides education and support to individuals who want to become vegetarian, or move toward a more vegetarian diet.
  • Nick’s kitchen provides some information on vegetarian and vegan diets to the best of their knowledge and abilities.
  • Nick’s kitchen does not claim to be health care professional, nutritionist, nor does it claims to treat any illness through vegan or vegetarian diet.
  • If you have a medical condition,Nick’s kitchen recommend that you consult your health care professionals before changing your diet.
  • Any changes that you make to your diet, and the results of those changes, are your decision and your responsibility.