
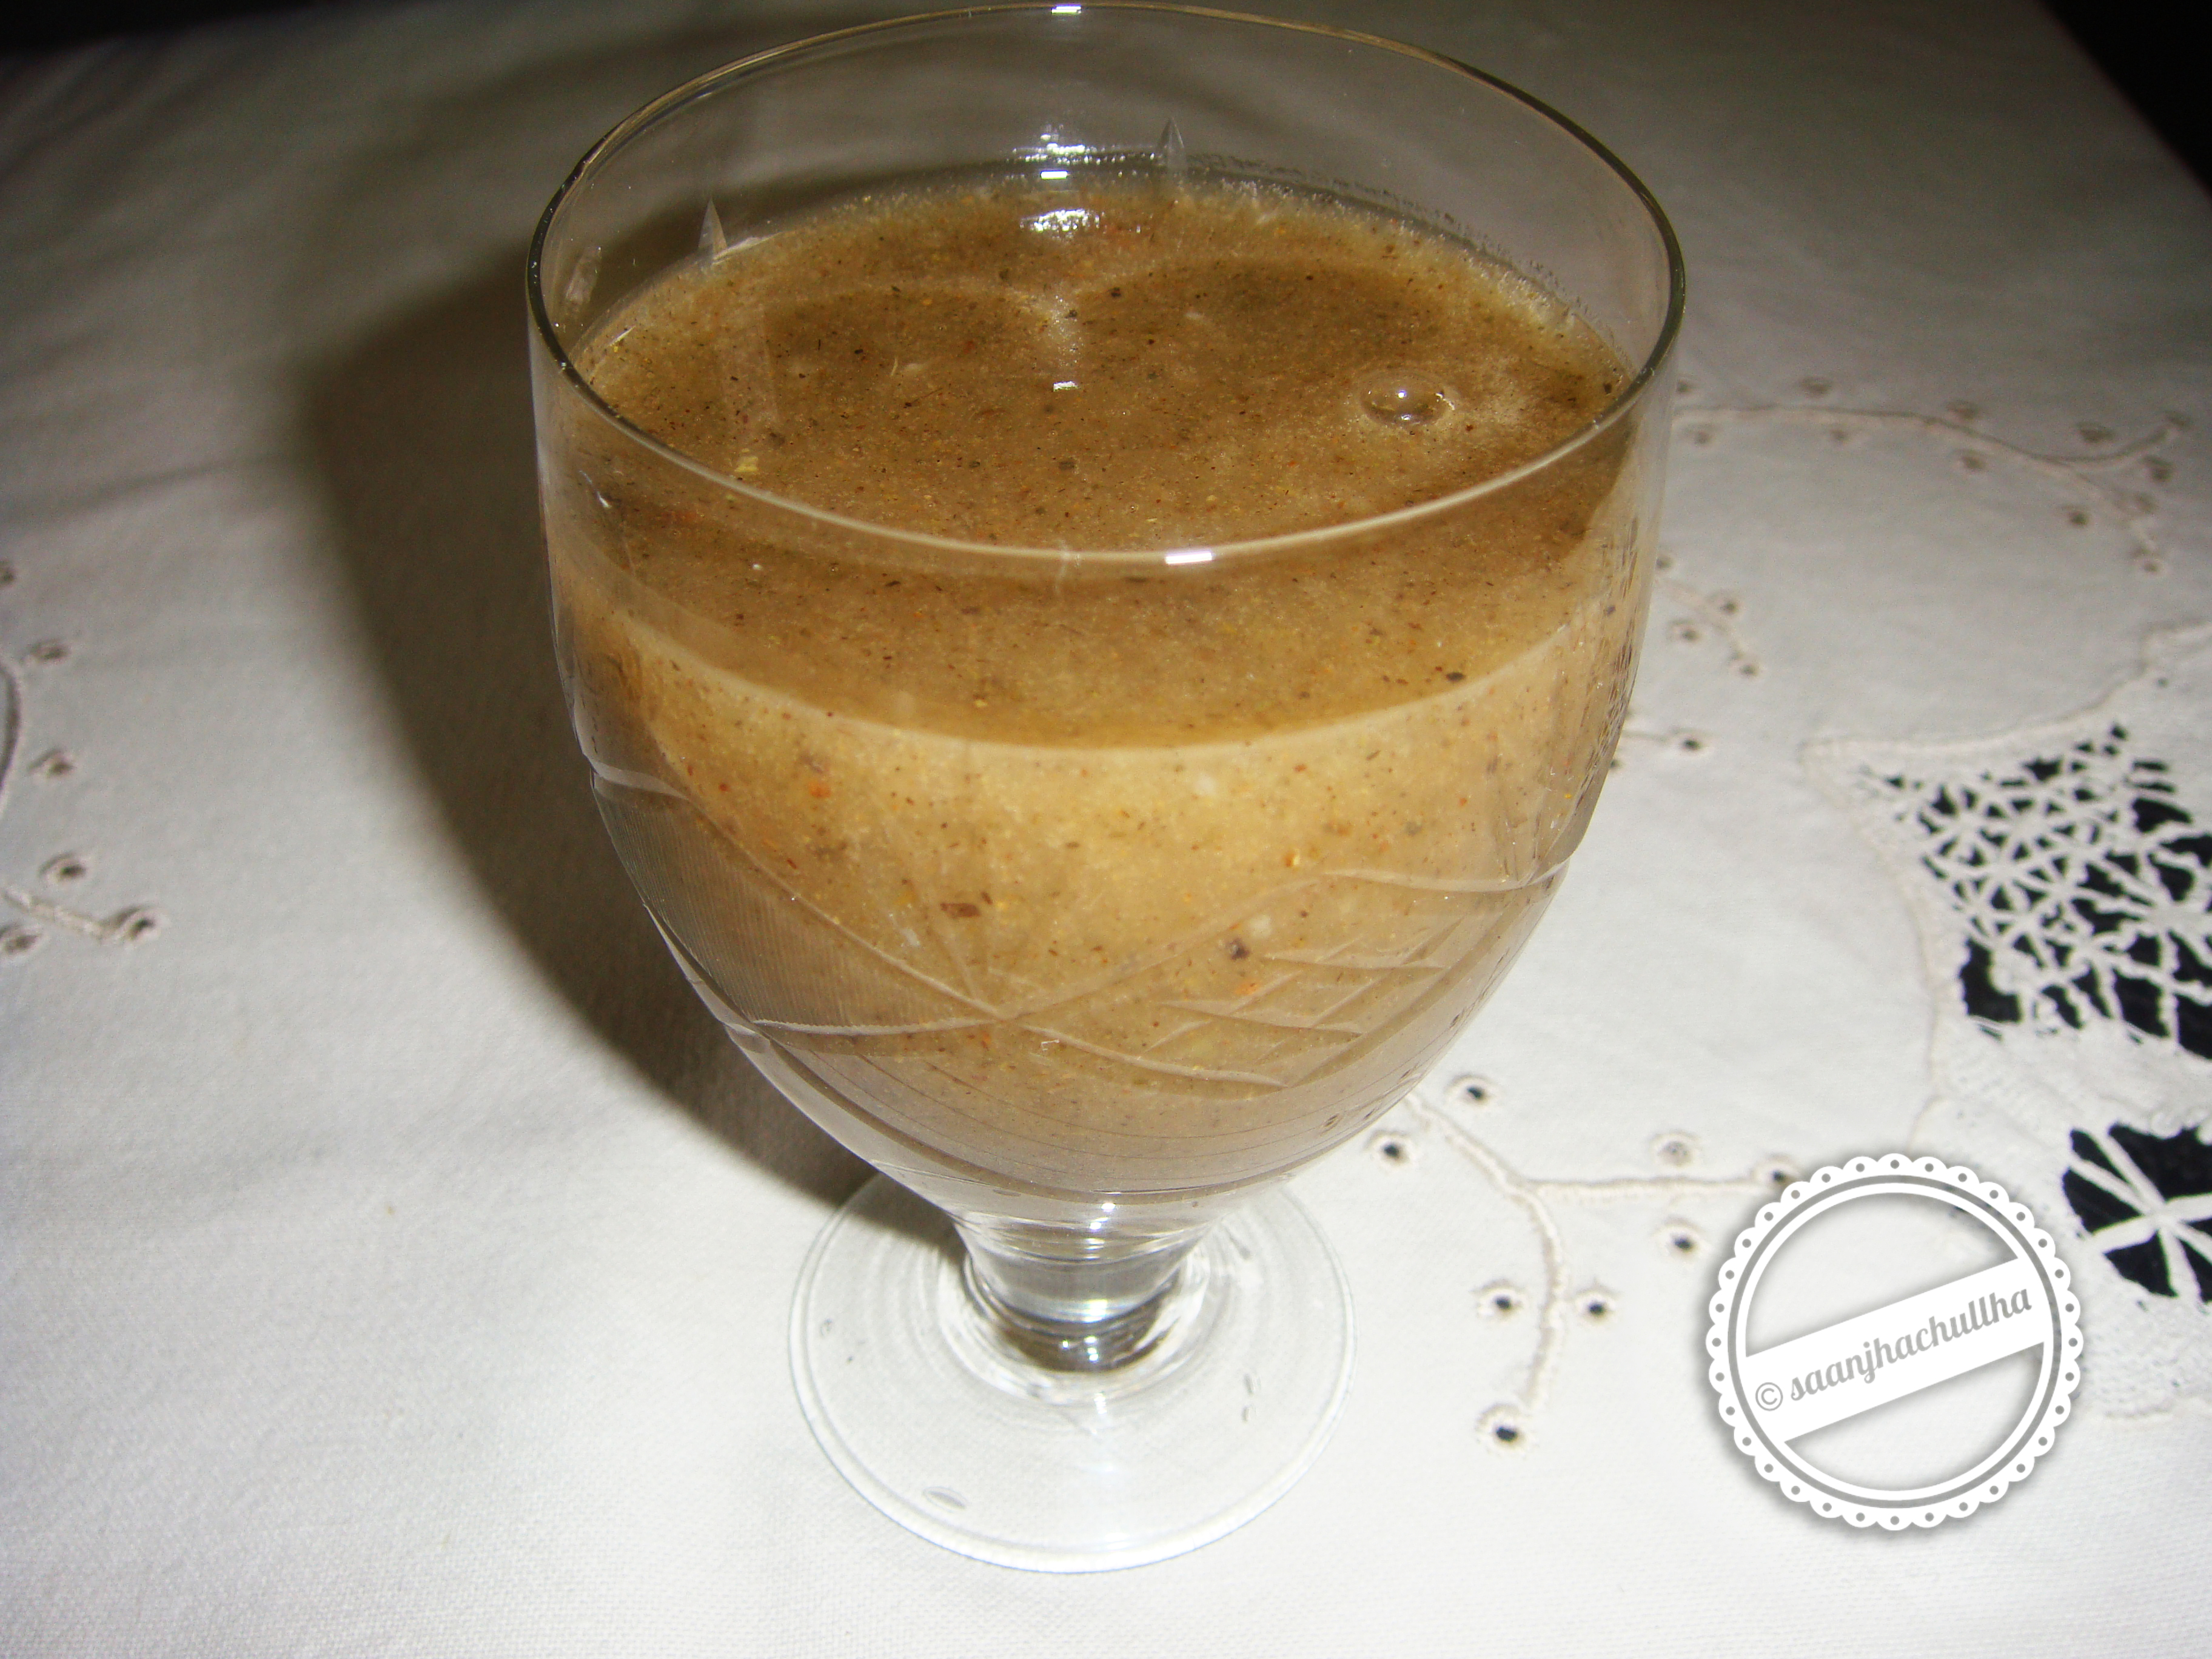
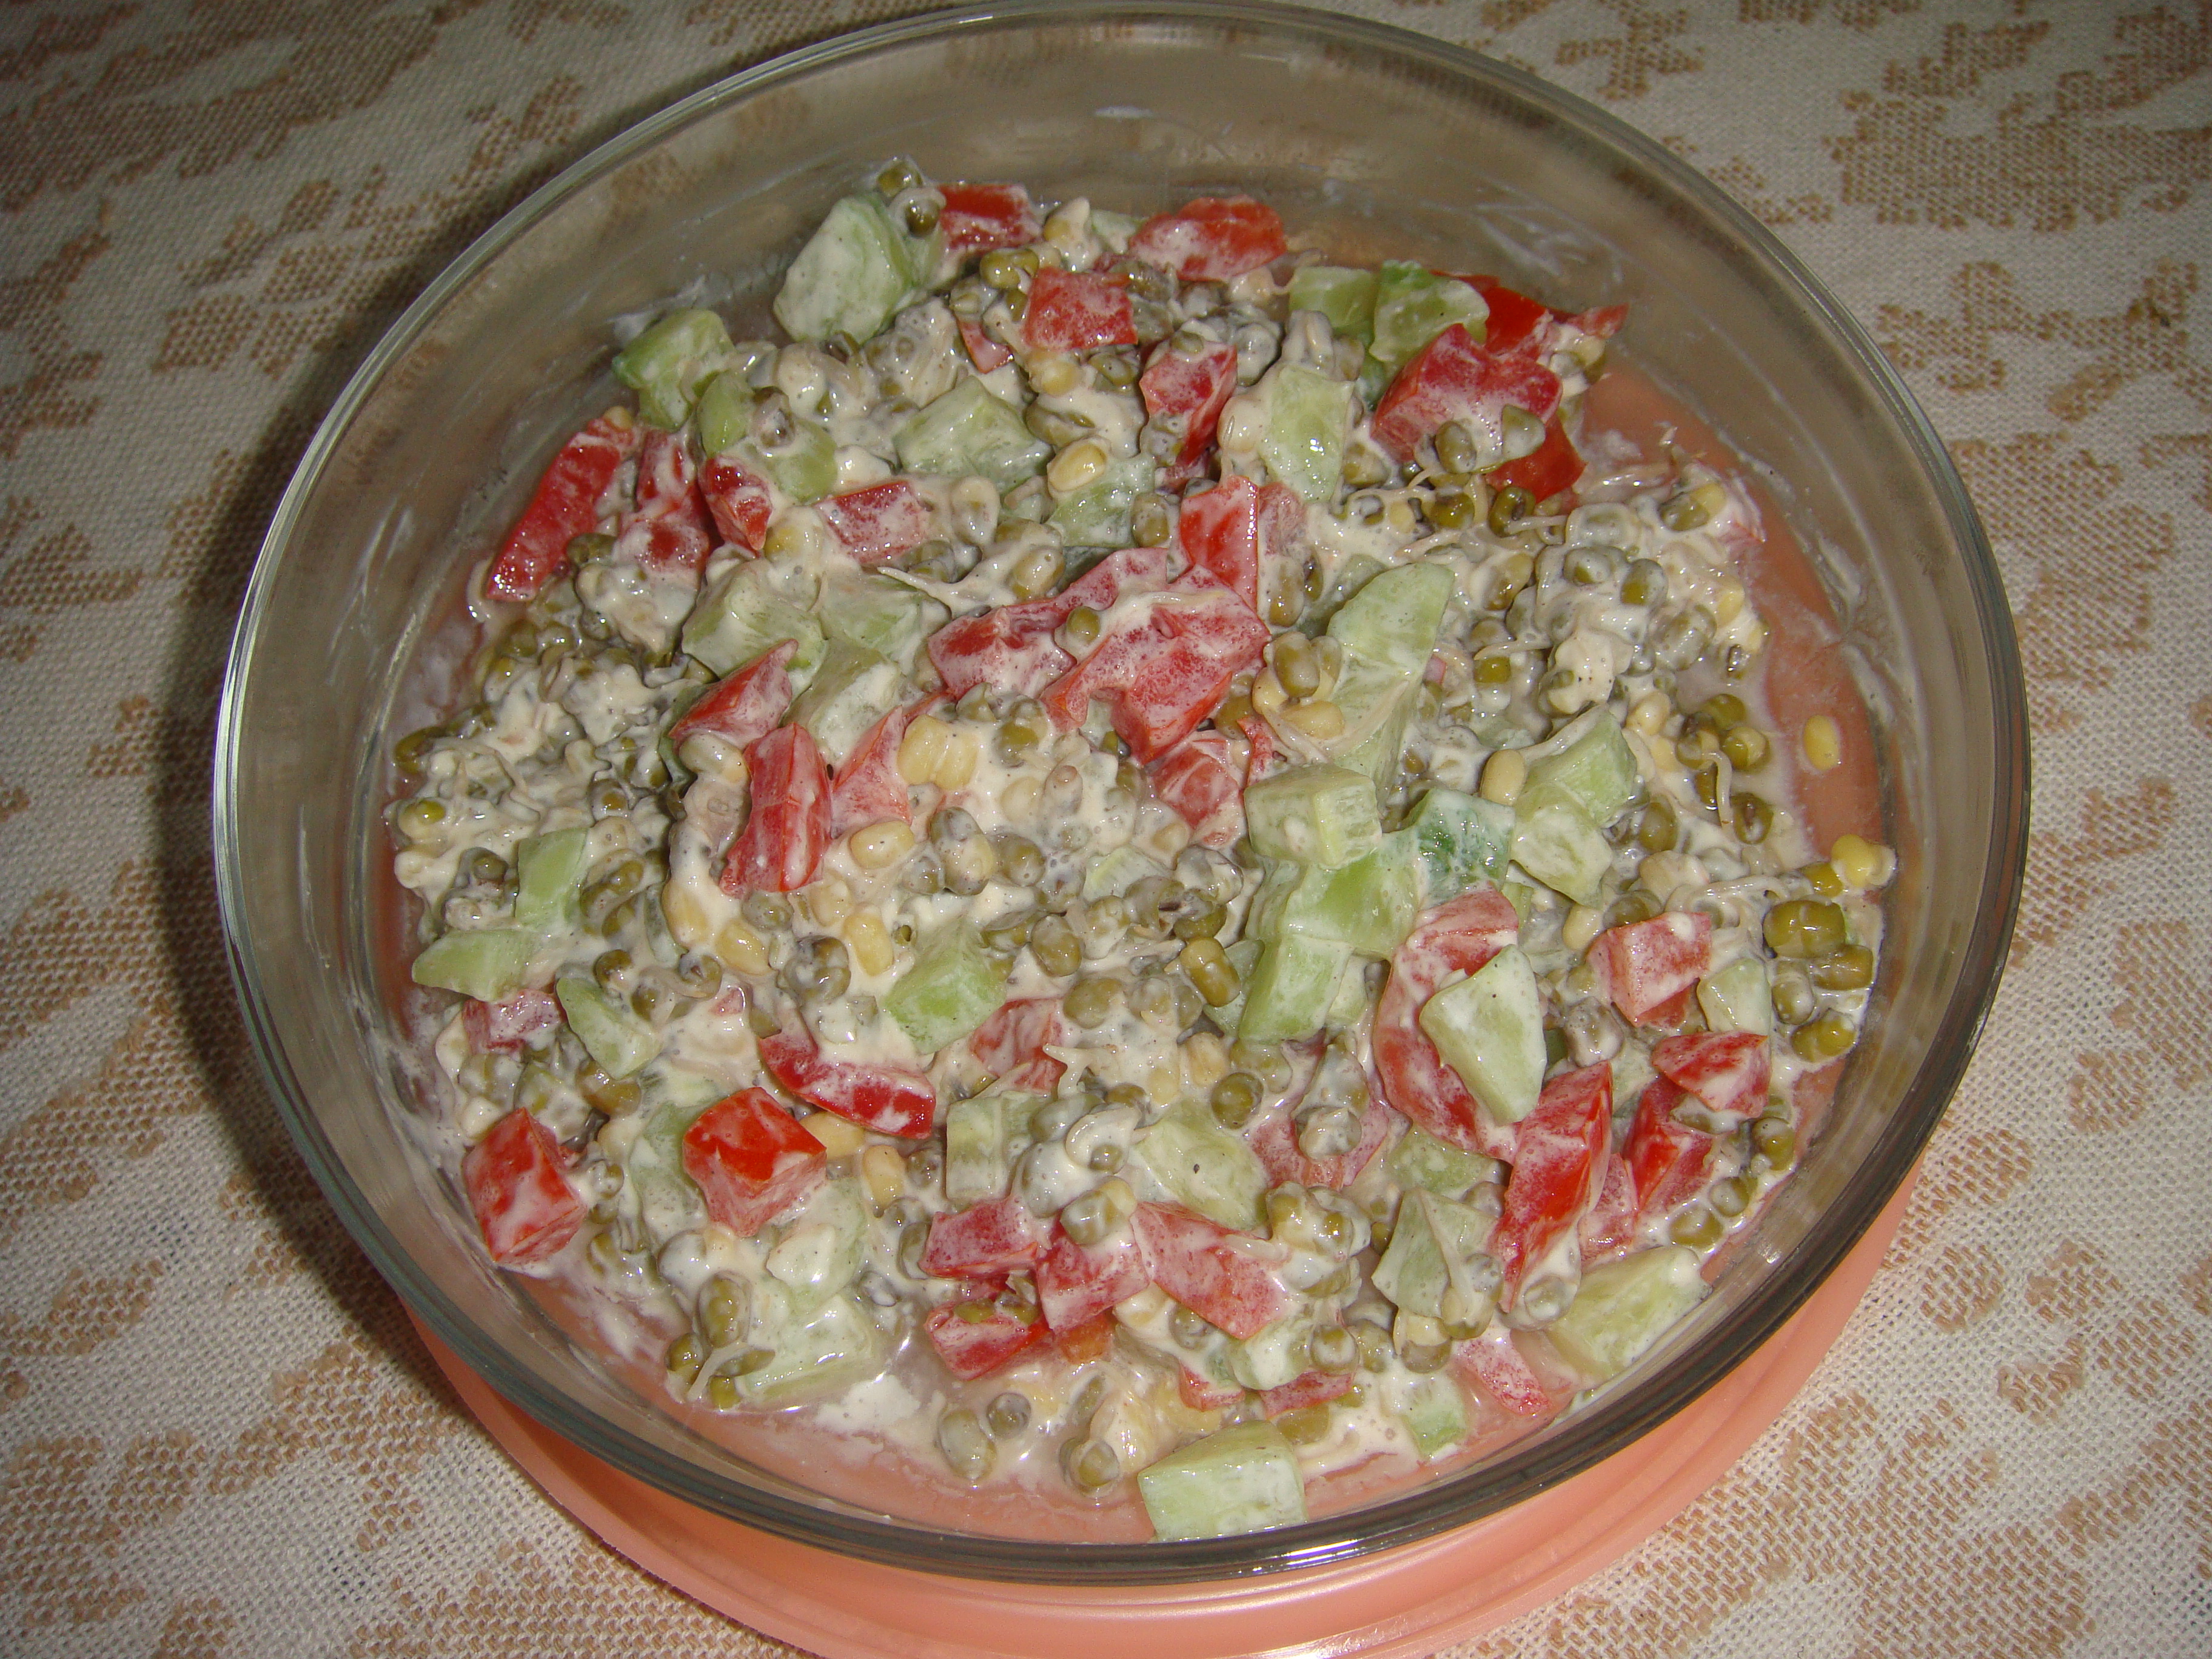
fresh fenugreek / methi leaves with green peas
Delicious treat for your next get-together, a party favorite!
Alternate Names: Fenugreek is also known as Methya (in Marathi), menthya (in Kannada), Vendayam (in Tamil), Menthulu (in Telugu), Uluva (in Malayalam) , Uluhaal ( in Sinhalese), Methi ( (In Oriya,Bangla, Punjabi, Urdu and Hindi). In Persian it is Shanbalîleh, and in Arabic its name is Hilbeh. Cooking: 45 minutes
Course: Main
Serves: 4
Cuisine: North Indian
Ingredients:
1 cup fresh green peas
2 cups fresh fenugreek / methi leaves, finely chopped
2 tomatoes, blanched, and choped
1 onion medium size, finely chopped
1/2 tsp cumin seeds
1/2 tsp black pepper powder
1/2 cup malai/fresh cream
9 cashew nuts
1 tsp poppy seeds / khuskhus, soaked in 1/4 cup water
1 1/4 tsp salt or / salt to taste
1/2 tsp sugar
2 tbsp Olive oil
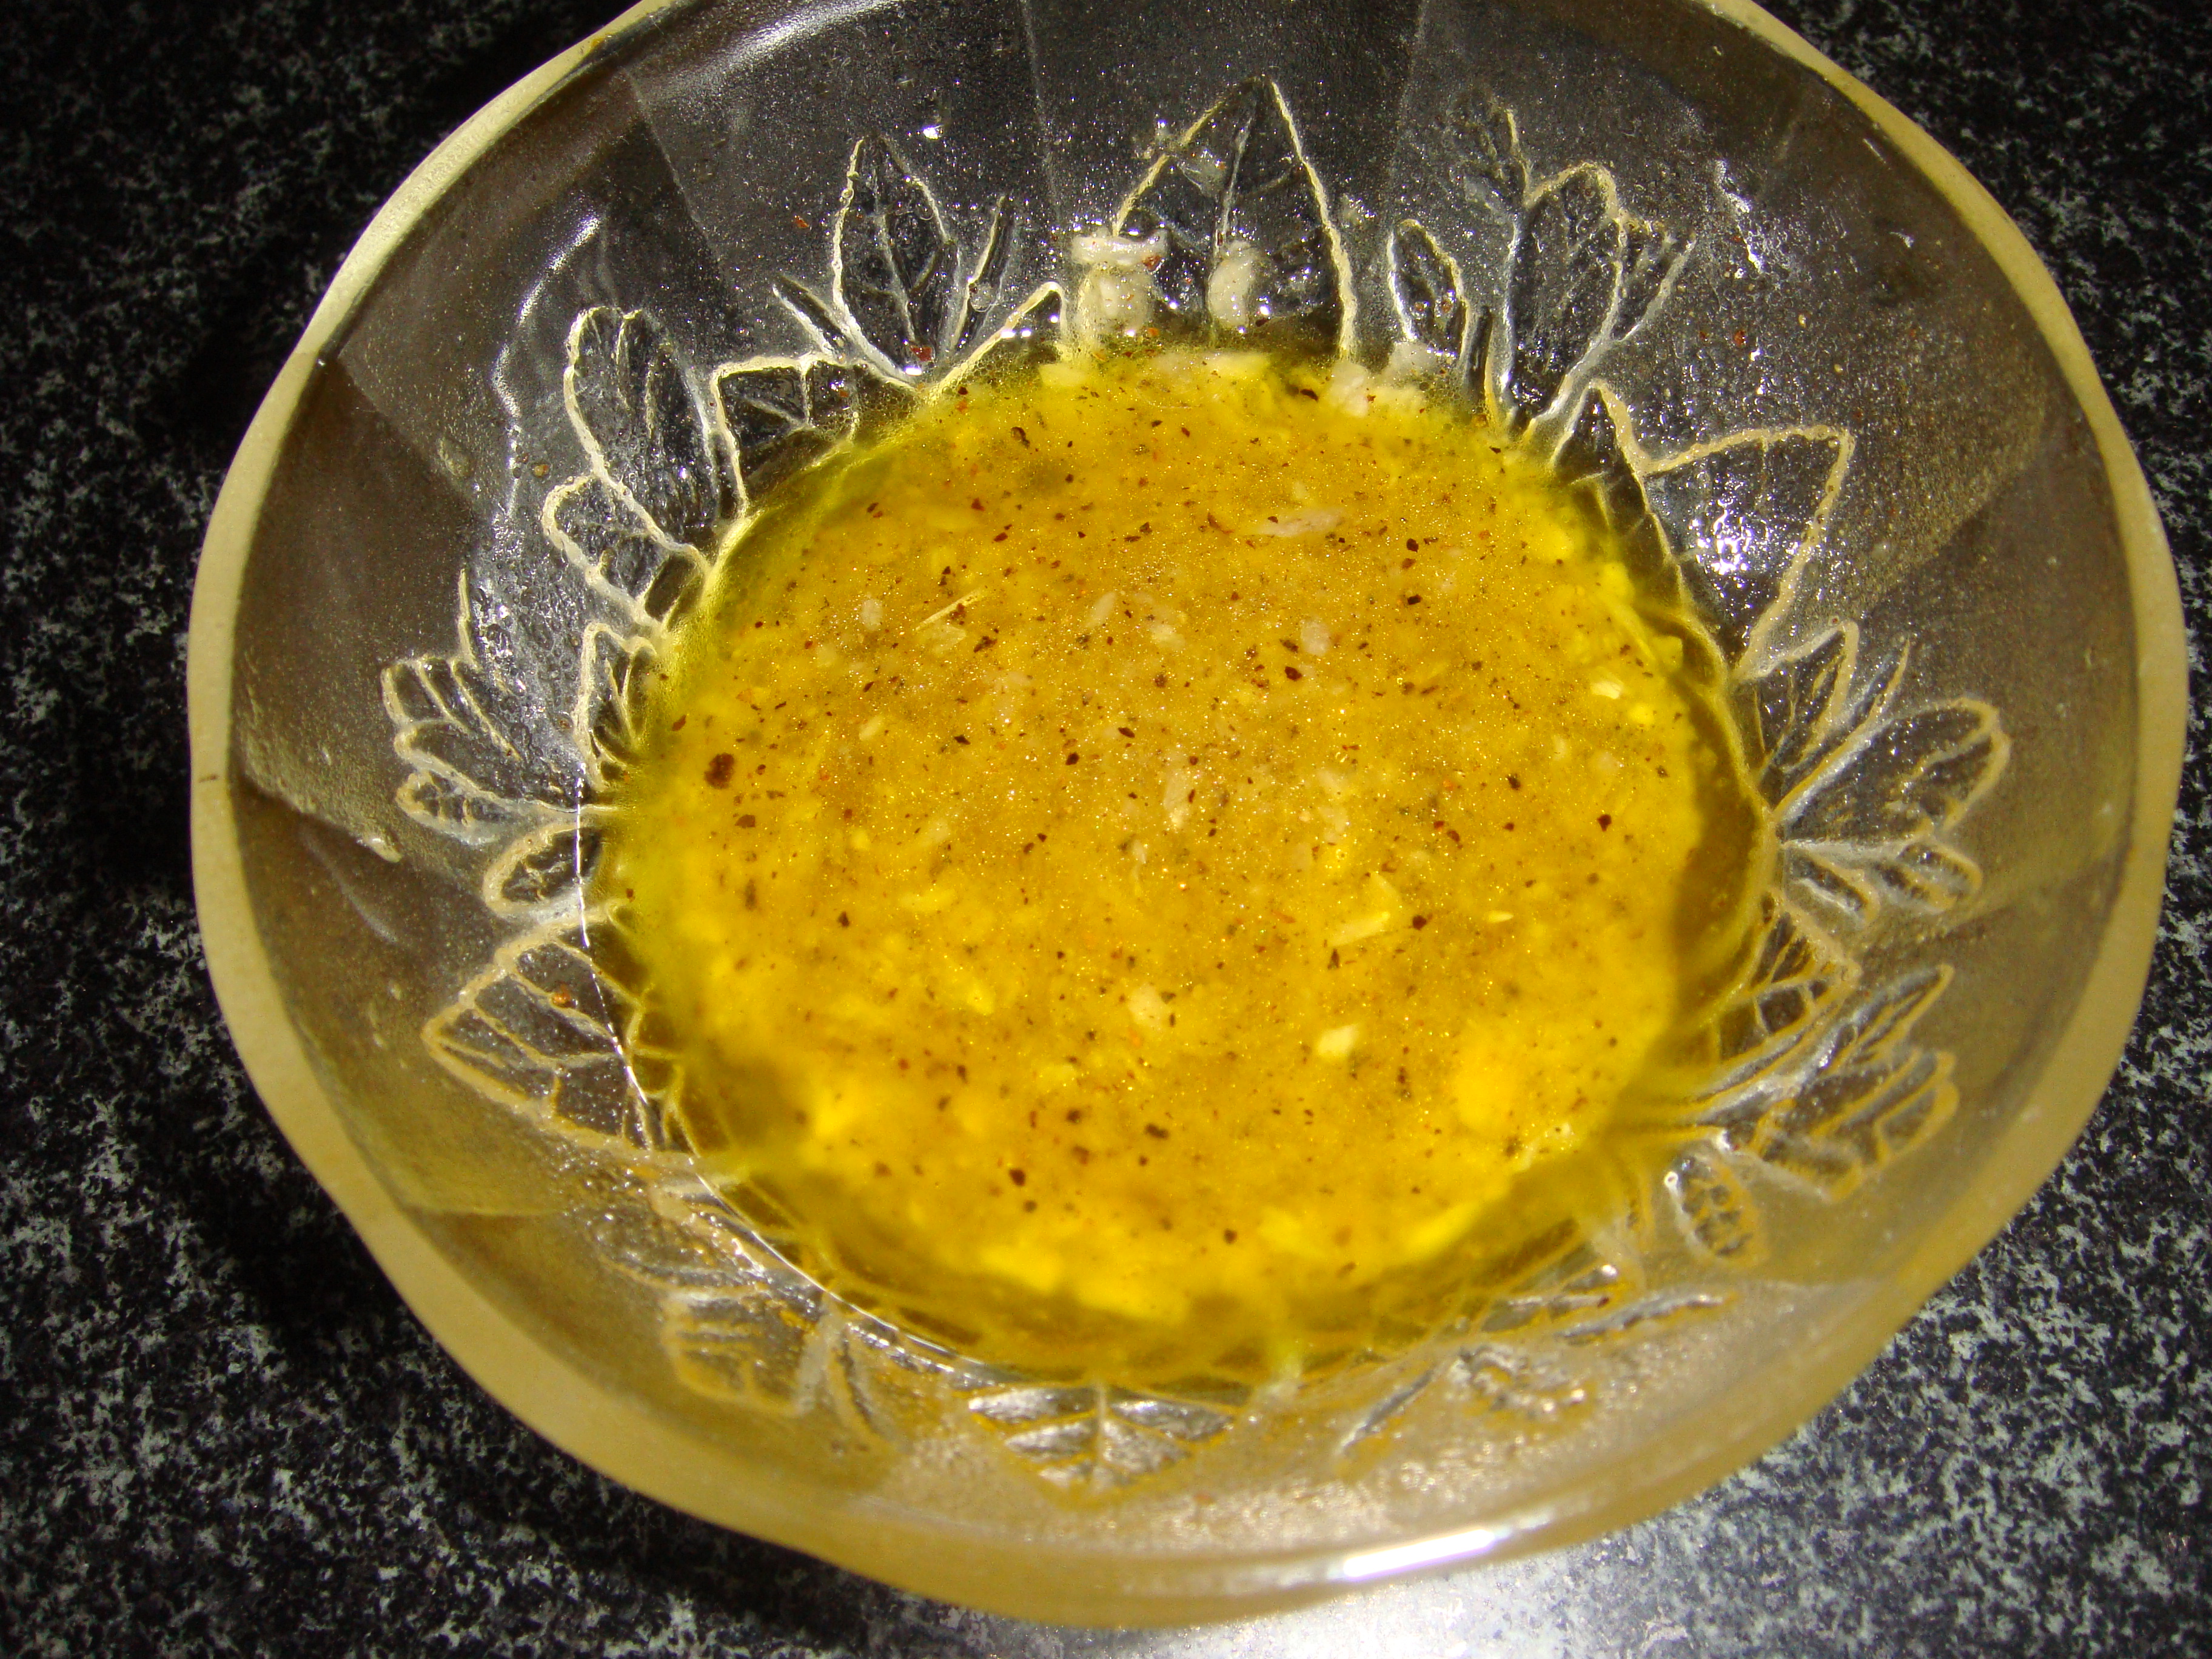
For the paste:
1 onion, medium size
2 green chilies
1tsp ginger, finely grated
4 cloves garlic
Method:
Step 1.
Wash very well in cold water and cut finely fenugreek / methi leaves in a bowl. Keep aside.
Step 2.
Soak for half an hour the finely chopped Fenugreek / Methi leaves in one cup of water, add 1/4 tsp salt and 1/2 tsp sugar to it . Strain the fenugreek / methi leaves and squeeze extra water from fenugreek / methi leaves and keep aside.
Step 3.
In a pressure cooker take green peas add 1/4 cup of water. On a high flame when full pressure is formed, switch off the stove. When pressure cooker cools down to room temperature, open the lid and keep the peas aside.
Step 4.
Take 1 onion, finely chopped, 2 green chilies, chopped, 1tsp ginger 4 cloves garlic and 1/4 cup in a blender and make a fine paste. Keep aside.
Step 5.
Blanche tomatoes, and after removing the skin chop finely and keep aside.
Step 6.
Make a fine paste of soaked poppy seeds / khuskhus seeds and cashew nuts, keep aside
Step 7.
Heat a tbsp of oil in a kadahi / wok / or frying pan, add the fenugreek / methi leaves and saute on medium flame for 2-3 minutes till slightly glossy. Switch off the stove and remove the fenugreek / methi leaves in a bowl and keep aside.
Step 8.
Heat the remaining one tbsp oil in a pan, add the cumin seeds, when cumin starts crackling add one finely chopped onion and saute till the onions are transparent. Add onion, ginger, garlic, green chilies paste to it and saute for seven to eight minutes on medium flame, stirring continuously.
Step 9.
Add chopped tomatoes, freshly ground pepper powder mix well. Cook for five minutes more.
Add the boiled green peas and fenugreek / methi leaves sauté for two minutes.
Step 10.
Add cashew nut and poppy seeds paste and cook for 3-4 minutes.
Step 11.
Reduce flame, add cream/ malai , stirring continuously add salt mix well. Switch off the stove.
Step 12.
Serve hot with any Indian bread of your choice.
Health benefits of Methi / Fenugreek leaves:
In the Eastern cultures, especially India, fenugreek leaves are more widely used as compared to seeds primarily due to its immense nutritional benefits. While the seeds of this plant are used for only for the flavor, the leaves have herb nutrition value in them. So, when we talk about the benefits of fenugreek we are particularly referring to its greener parts.
Fenugreek leaves are basically a kind of green leafy vegetables unless you dry them for storage (kasuri methi). So they will give you all the goodness associated with green vegetables.
The fresh leaves of the Methi plant have a slightly bitter under taste and can be cooked just like we cook spinach. It is a very good source of iron.That is why fenugreek, both its seeds and leaves are considered medicinal for curing anemia. In fact, even if you follow standard medicine, patients with low hemoglobin count are usually put on a diet of fenugreek and other vegetables like spinach and lettuce.
Fenugreek has herb nutrition in it. If you crush the fresh leaves of Fenugreek or make a glass of juice out of them, it could be the perfect health drink to control the hormonal level of insulin in the blood. Fenugreek is a kind of similar to bitter gourd when we consider the bitter taste and properties of regulating insulin. It is a must note point for diabetics.
Fenugreek could give competition to Spinach as a rich source of vitamin K. Commonly spinach is the traditional answer to all your vitamin K needs but fenugreek has almost as much or more of this vital nutrient.
It is a very good source of roughage because is basically comprised of leaves. It will fulfill your body’s fibre requirements abundantly. Traditionally methi or fenugreek is supposed to be very beneficial to people who have a persistent problem of constipation.
Surprisingly, fenugreek is also a great source of protein and nicotinic acid. These nutrients lend benefits of fenugreek that are specific to hair. It foster hair growth and is good for the general health and shine of hair.
Inspite of so many benefits people sometimes don’t prefer to eat fenugreek because of its bitterness, especially in the dried form when the concentration of the bitterness increases. The solution is to either eat it fresh or add the dried leaves to foods like dals, curries or mix it or knead the flour to make tasty methi parathas! Either ways the benefits of fenugreek as a nutritional bonanza need to be utilised to the fullest.
Ref. http://www.boldsky.com/health/nutrition/2011/benefits-fenugreek-leaves-130911.html


 Broccoli belongs to the cruciferous vegetable family, which includes kale, cauliflower, Brussels sprouts, bok choy, cabbage, collard greens, rutabaga and turnips. These


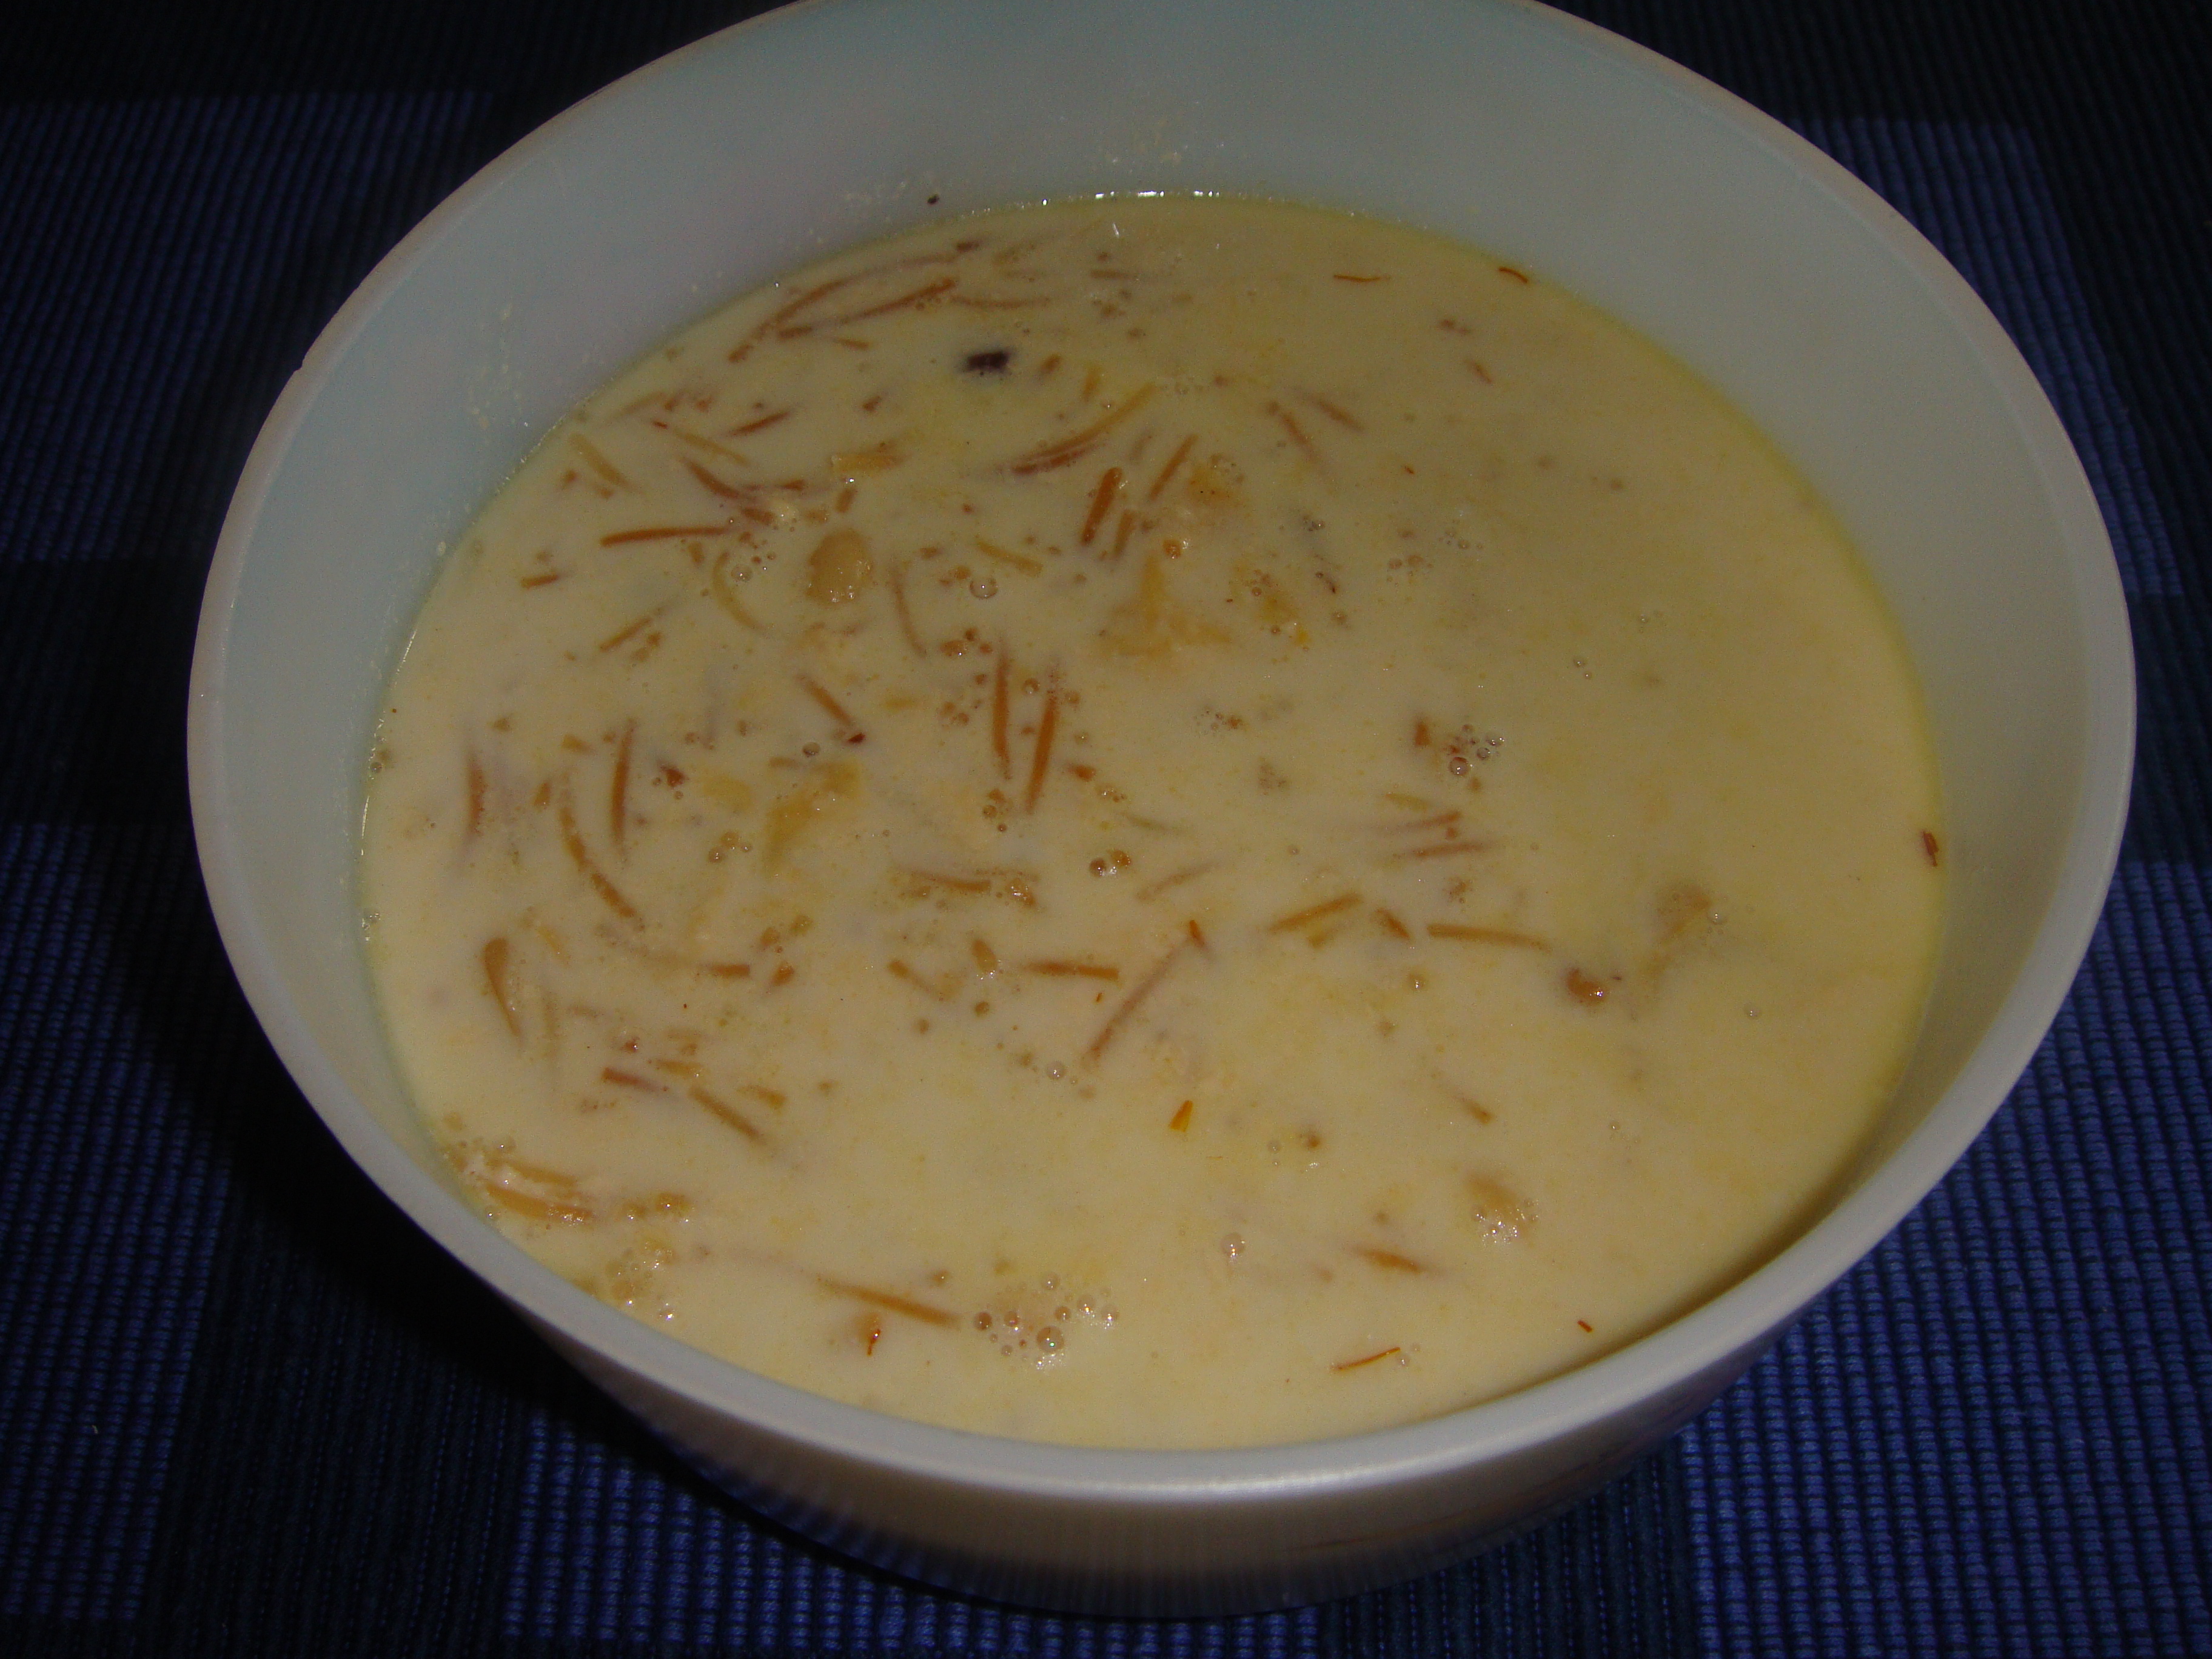
 Kheer
Kheer


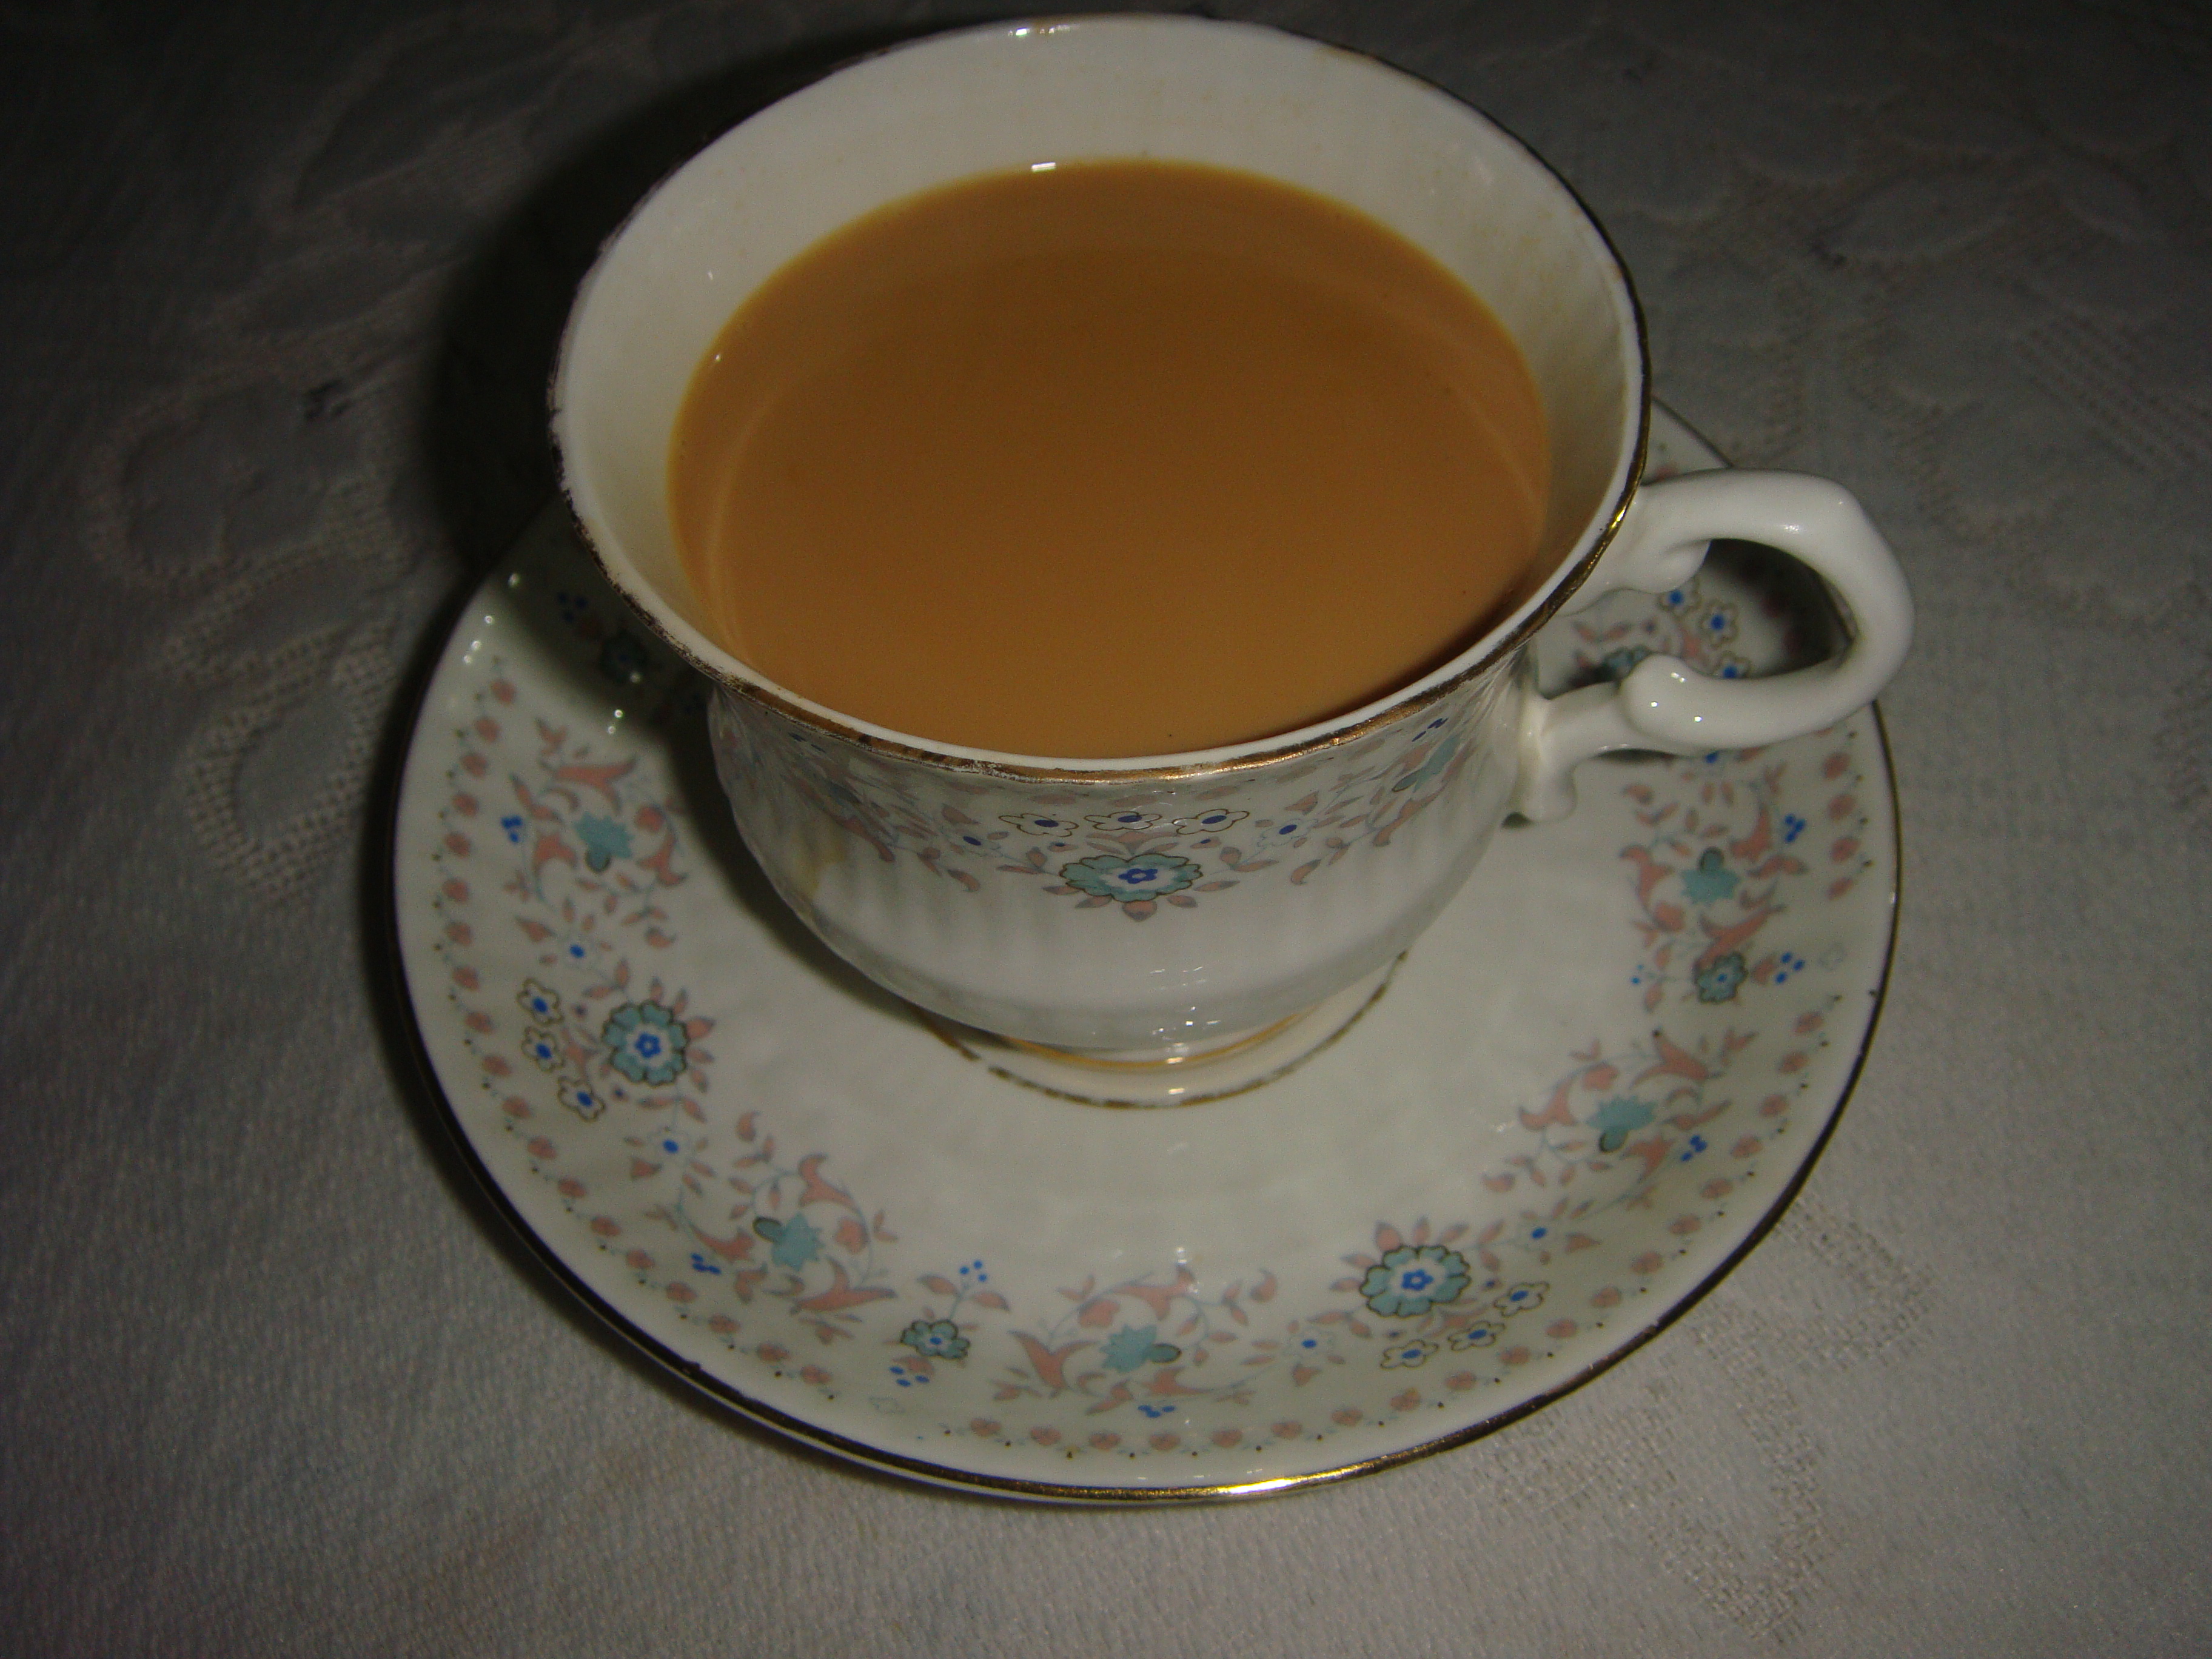


 Tea Cake


Nick’s kitchen medical Disclaimer: